
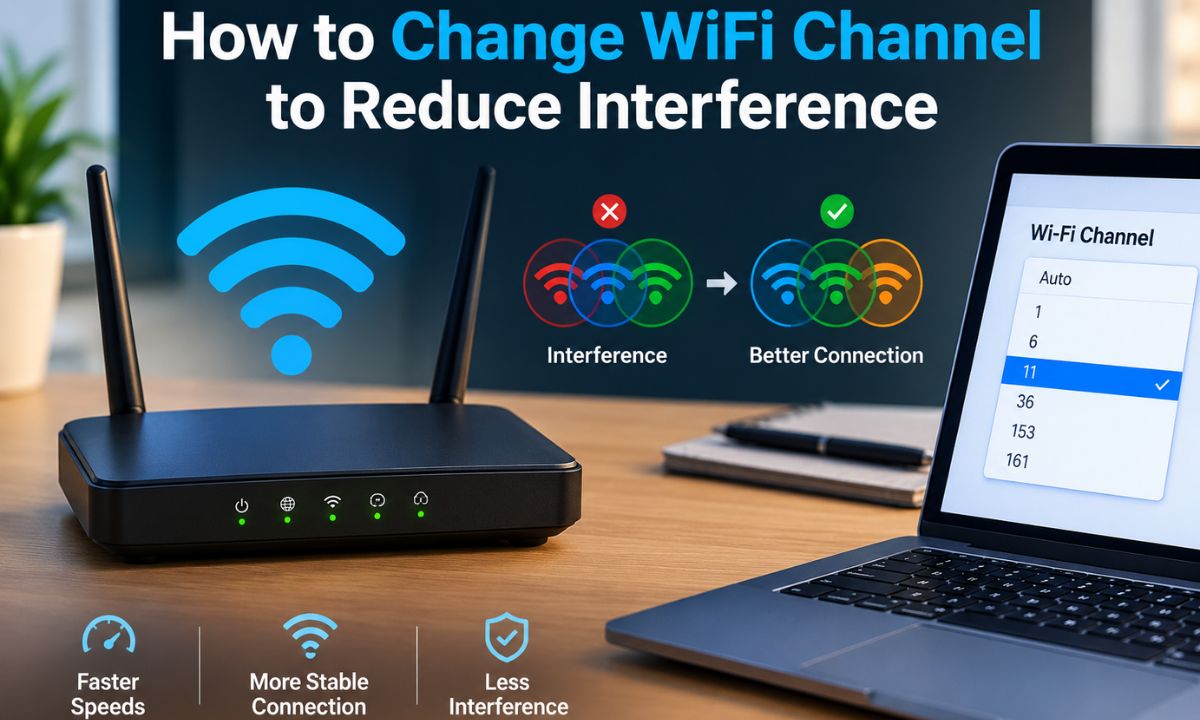
If your WiFi keeps dropping or crawls at night, a crowded channel is a likely culprit. Learning how to change WiFi channel takes about five minutes and costs nothing.
You log in to your router, open the wireless settings, swap “Auto” for a specific channel, and save. That’s it. On 2.4 GHz, pick 1, 6, or 11. On 5 GHz, pick a less crowded channel such as 36, 40, 44, or 149.This guide covers the exact steps, the right channels for each band, and the mistakes that waste people’s time.
How to Change WiFi Channel
Short answer: Log in to your router’s admin page, open the wireless or WiFi channel settings, choose a new channel manually, and save. Then reboot the router.
Simple rule: On 2.4 GHz, use only 1, 6, or 11 because they don’t overlap. On 5 GHz, pick any clear channel; they barely overlap.
Instant examples:
- Apartment with 12 neighboring networks on channel 6: switch to channel 1 or 11.
- Laggy gaming on 5 GHz: move from channel 36 to channel 149 if neighbors cluster on lower channels.
- Smart plugs dropping on 2.4 GHz: lock the router to channel 1 and keep it there.
How to Change WiFi Channel on Your Router: Easy Guide
Every router brand words things differently, but the process is nearly identical. This section covers the router steps, then device-specific and provider-specific notes.
How to Change WiFi Channel on Your Router
- Connect to your WiFi or plug in with an Ethernet cable.
- Open a browser and type your router’s IP address. Common ones are 192.168.1.1, 192.168.0.1, or 10.0.0.1.
- Log in with your admin username and password. These are often printed on the router’s label.
- Open Wireless, WiFi, or Wireless Network Settings.
- Find the Channel dropdown for the band you want to change.
- Switch from Auto to a specific channel.
- Click Save or Apply. The router may restart and drop your connection briefly.
Not sure which channel to pick? Scan first. A free analyzer shows which channels your neighbors use (more on tools later).
Read More: best wireless earbuds under 200 dollars 2026
Picking the Right Channel for Each Band
Each band behaves differently, so your WiFi channel selection should too.
| Band | Available Channels (US) | Overlap Problem | Best Picks |
| 2.4 GHz | 1 to 11 | Heavy overlap | 1, 6, 11 |
| 5 GHz | 36 to 165 (many options) | Minimal | 36, 40, 44, 48, 149, 153, 157, 161 |
| 6 GHz | 1 to 233 (WiFi 6E/7) | Almost none | Any clear channel |
On 2.4 GHz, channels are only 5 MHz apart but each signal is about 20 MHz wide. Channels 1, 6, and 11 are the only trio that never step on each other.
How to Change WiFi Channel Settings on WiFi 6E and WiFi 7 Routers
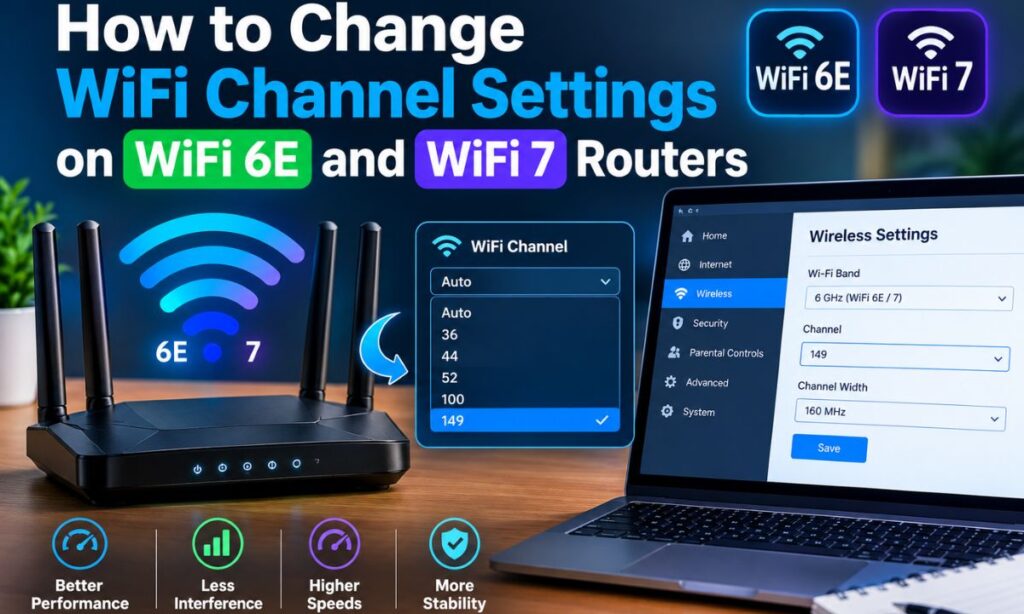
Newer routers add a 6 GHz band. The menu looks the same, but you’ll see a third channel dropdown.
- Open your router channel settings and find the 6 GHz section.
- Leave it on Auto unless you see problems. Few neighbors use 6 GHz yet, so it’s usually clean.
- On WiFi 7 routers, you may also see options for 320 MHz channel width. Only use it if your devices support it.
How to Change WiFi Channel on PC
Here’s the catch: you can’t pick a channel from Windows. The channel is set by the router, not your PC. What you can do is check which channel you’re connected to.
- Press Windows + R, type cmd, and hit Enter.
- Type netsh wlan show interfaces and press Enter.
- Look for the Channel line.
If that channel is crowded, log in to your router and change it there. You can also change your adapter’s preferred band (2.4 GHz vs 5 GHz) in Device Manager under the adapter’s Advanced properties.
Choosing Channel Width Alongside Your Channel
Channel width controls how much spectrum your signal uses. Wider means faster peak speeds but more interference.
| Band | Recommended Width | Why |
| 2.4 GHz | 20 MHz | Keeps you clear of neighbors |
| 5 GHz | 40 or 80 MHz | Good balance of speed and stability |
| 6 GHz | 80 or 160 MHz | Plenty of room |
Never run 40 MHz on 2.4 GHz in a crowded building. It eats two channels’ worth of space and usually makes things worse.
How to Change WiFi Channel ATT
AT&T gateways handle this through their Smart Home Manager or the local admin page.
- Go to 192.168.1.254 in your browser.
- Click Home Network, then Wi-Fi.
- Select Advanced Options.
- Pick your channel under the 2.4 GHz or 5 GHz section.
- Save.
You’ll need the Device Access Code printed on the gateway’s label.
Is It Really the Channel Causing Your Problem?
Not always. Before you change anything, rule these out:
- Distance and walls between router and device
- Too many connected devices
- Old firmware
- Slow internet plan (run a wired speed test)
If a wired connection is also slow, the channel isn’t your problem. Call your provider instead.
How to Change WiFi Channel on Phone
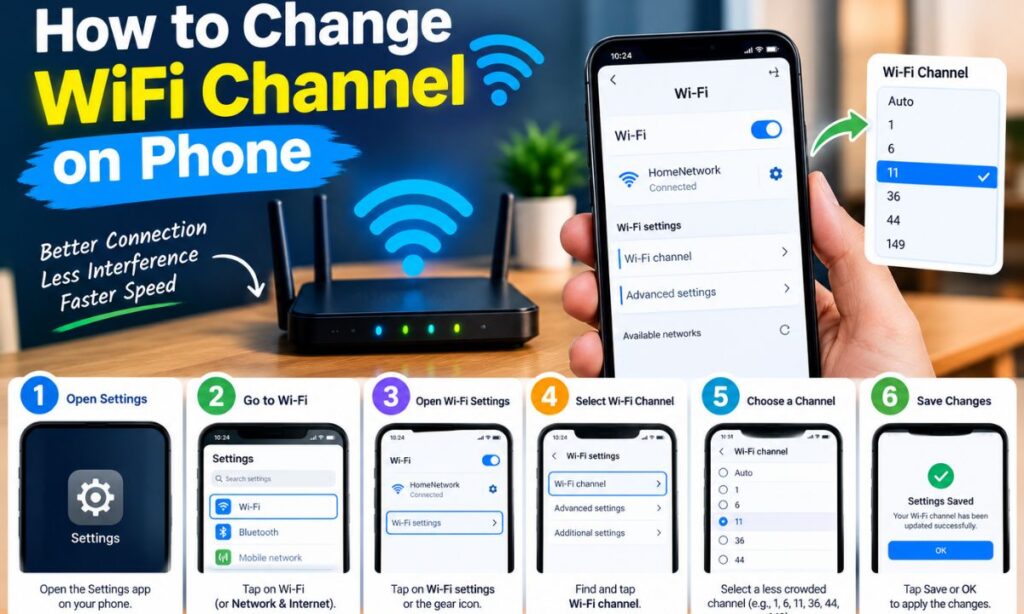
Phones don’t set channels either. The router does. But you can still manage it from your phone.
- Via browser: connect to WiFi, open the router’s IP address, and follow the steps above.
- Via router app: TP-Link Tether, Netgear Nighthawk, ASUS Router, and Google Home all include channel options in their wireless network settings.
- To check the current channel: install a WiFi analyzer app on Android. iPhones need a router app, since iOS blocks WiFi scanning.
How to Change WiFi Channel Cox
Cox Panoramic WiFi gateways use the Cox app.
- Open the Cox app and sign in.
- Tap Connect, then your gateway.
- Select Advanced Settings, then Wi-Fi Settings.
- Choose a channel for each band, or leave Auto if you’re unsure.
Some Cox gateways also respond at 192.168.0.1 with your admin credentials.
Read More: vocalnewsmedia com
Common Scenarios and Results
| Scenario | Channel Change | Likely Result |
| Apartment, 15 networks on channel 6 | Move to 1 or 11 | Noticeably fewer drops |
| Home with 5 GHz lag | 36 → 149 | Smoother streaming |
| Smart devices disconnecting | Lock 2.4 GHz to channel 1 | More stable connections |
| Single-family home, rural | Leave Auto | No visible change |
| Router near microwave | Avoid channel 9 to 11 | Less interference during cooking |
Common Mistakes People Make
- Using channels like 3 or 8. They overlap with several others. Fix: stick to 1, 6, or 11.
- Forgetting to reboot. Some routers don’t apply changes cleanly. Fix: restart after saving.
- Blaming the channel for a slow ISP. Fix: test with a wired speed test first.
- Cranking channel width to the max. Fix: use 20 MHz on 2.4 GHz.
- Never rechecking. Neighbors change routers too. Fix: scan every few months.
- Changing both bands at once. You won’t know which change helped. Fix: change one thing at a time.
Real World Application: Small Offices and Apartments
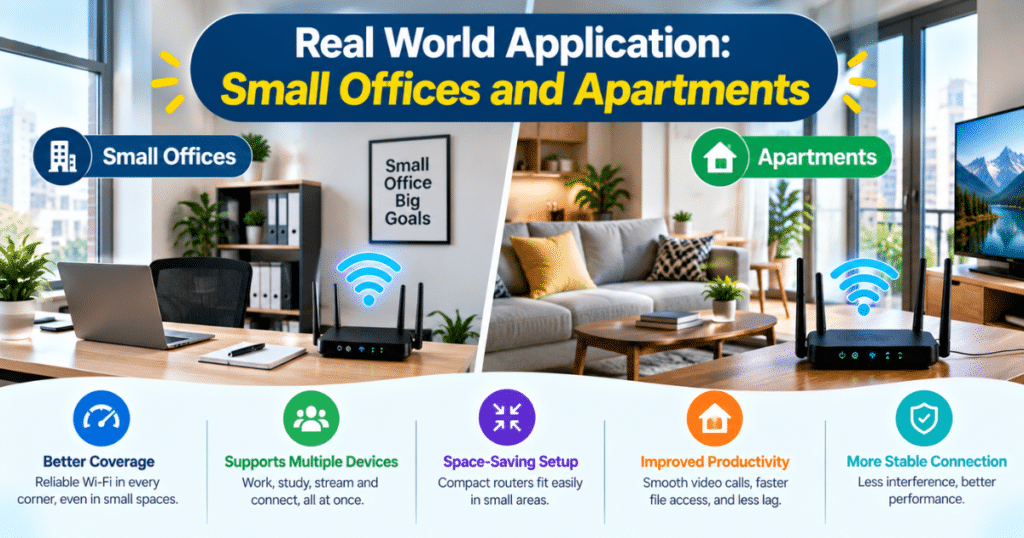
In an apartment block, dozens of routers fight over the same few 2.4 GHz channels. Moving your router to channel 1 or 11 and shifting heavy devices to 5 GHz often fixes things in one afternoon.
Small offices have a different problem: many devices and video calls. Set 5 GHz to an unused channel, keep width at 80 MHz, and put printers and smart gadgets on 2.4 GHz. If you run several access points, give each a different channel so they don’t compete.
How to Change WiFi Channel Mac
Like Windows, macOS can’t change the channel. But it can show you what you’re on.
- Hold the Option key and click the WiFi icon in the menu bar.
- Read the Channel line.
- For a deeper scan, open Wireless Diagnostics from the same menu and choose Window > Scan.
Then change the channel in your router’s admin page.
Quick Menu Reference by Brand
| Brand | Where to Find Channel Settings |
| TP-Link | Advanced → Wireless → Wireless Settings |
| Netgear | Advanced → Setup → Wireless Setup |
| ASUS | Wireless → General → Channel |
| Linksys | Wireless → Basic Wireless Settings |
| Google Nest WiFi | Not adjustable manually |
| Xfinity | Xfinity app → WiFi → Advanced Settings |
Building-Type Cheat Sheet
| Building Type | 2.4 GHz Channel | 5 GHz Channel | Width |
| Apartment complex | 1 or 11 | 149 to 161 | 20 / 40 MHz |
| Suburban house | 6 or Auto | 36 to 48 | 20 / 80 MHz |
| Small office | 1, 6, 11 (per AP) | Different per AP | 20 / 80 MHz |
| Rural home | Auto | Auto | 20 / 80 MHz |
Why “Auto” Isn’t Always Smart
Auto picks a channel at boot and often doesn’t re-evaluate until the next restart. It may also choose an overlapping channel like 4 or 9.
Auto is fine for quiet homes. In a crowded building, it tends to settle on whichever channel looked best at 3 a.m., not at 8 p.m. when everyone streams. Manual control wins when you’ve tested.
Final Word
Changing channels is simple. The hard part is picking a good one, so scan first and test after.
Real-Life Situations Where This Matters
- Evening buffering: Neighbors all stream at once, and your channel gets saturated.
- Zoom calls freezing: A congested wireless channel adds latency spikes.
- Smart home drops: Cheap sensors only use 2.4 GHz, which is the most crowded band.
- New router, same problem: A new box doesn’t help if it picks the same busy channel.
- Gaming lag spikes: Interference causes packet loss even when speeds look fine.
Why People Search “How to Change WiFi Channel”
Most people searching this have a specific problem: slow or unstable WiFi, and someone told them to “try changing the channel.” They want to know where the setting is, what to pick, and whether it’ll actually help.
Here are the tools and habits that make it fast:
- WiFi Analyzer (Android): shows channel congestion visually.
- NetSpot or WiFi Explorer: desktop scanners for Windows and Mac.
- Wireless Diagnostics (Mac): built in, free.
- Habit: scan, change one thing, test, and keep notes.
FAQ’s
How do I change my WiFi channel?
Log in to your router’s admin page, open Wireless Settings, select a different channel from the Channel dropdown, and click Save.
What is the best WiFi channel to use?
For 2.4 GHz, use channel 1, 6, or 11. For 5 GHz, any non-overlapping channel like 36, 40, 44, or 149 works well.
How do I log in to my router to change the channel?
Type your router’s IP address (usually 192.168.1.1 or 192.168.0.1) into a browser, then enter your admin username and password.
Why should I change my WiFi channel?
Changing channels reduces interference from nearby networks, which improves speed, stability, and signal quality.
How do I find the best WiFi channel for my router?
Use a WiFi analyzer app like WiFi Analyzer or NetSpot to see which channels nearby networks use, then pick the least crowded one.
Summary
To change your WiFi channel, log in to your router, open the channel settings, and switch from Auto to a manual option. Use 1, 6, or 11 on 2.4 GHz, and pick a clear channel on 5 GHz with a moderate width. Remember that your PC, Mac, or phone can’t change the channel directly, because the router controls it. Scan first, change one thing at a time, then test the result. Auto works fine in quiet homes, but in crowded buildings a manual channel usually does better.
2 thoughts on “How to Change WiFi Channel to Reduce Interference ”