
When it comes to interior design, windows are often the focal point of a room. However, standard wall-mounted curtain rods can sometimes limit your design potential, making ceilings feel lower and rooms feel smaller. If you are looking for a sleek, modern, and highly functional alternative, you might be wondering: Can you put a curtain track on the ceiling?
The short answer is yes, absolutely. In fact, ceiling-mounted curtain tracks are one of the best-kept secrets of professional interior designers in the United States. Whether you want to create a high-end luxury hotel vibe, maximize your vertical space, or divide a large room without building permanent walls, ceiling curtain tracks offer a seamless and sophisticated solution.
This comprehensive guide will explore everything you need to know about ceiling-mounted curtain tracks, including their benefits, types, installation steps, and expert styling tips.
Why Choose Ceiling-Mounted Curtain Tracks?
Before diving into the installation process, it is essential to understand why this design choice has become a massive trend across modern American homes, urban apartments, and commercial spaces.
1. The Illusion of Height and Space
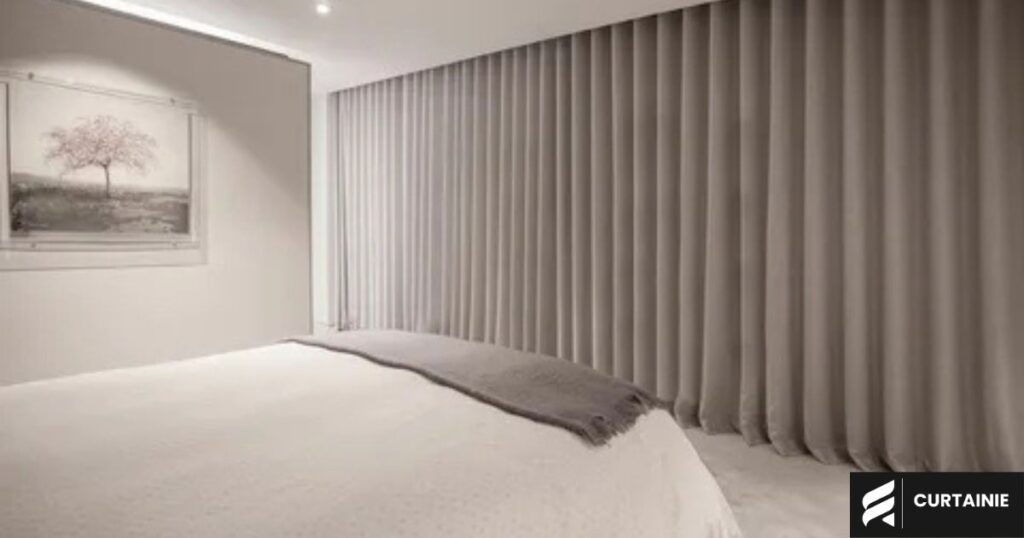
In architecture and interior design, vertical lines draw the eye upward. When you hang curtains directly from the ceiling rather than a few inches above the window frame, you instantly create an optical illusion. Even if your room has standard 8-foot ceilings, extending the fabric from the absolute top to the floor makes the entire space feel significantly taller, grander, and more open.
2. Sleek, Minimalist Aesthetics
Traditional curtain rods require brackets that stick out from the wall, which can sometimes look bulky or clash with modern, minimalist decor. Ceiling tracks, on the other hand, boast an incredibly low profile. The track itself can be virtually invisible, leaving nothing but the clean, elegant folds of your drapery on display.
3. Perfect for Tricky Architectural Layouts
Not every window is perfectly centered with plenty of wall space around it. Ceiling tracks are the ultimate problem solvers for:
- Floor-to-ceiling windows: Where there is literally no wall space above the window to mount a traditional rod.
- Corner windows or bay windows: Where standard rods struggle to transition smoothly around angles.
- Sliding glass doors: Requiring long, uninterrupted spans of fabric that can be pulled completely out of the way.
4. Highly Effective Room Dividers
With the rise of studio apartments and open-concept living spaces in major U.S. cities, privacy and zoning have become crucial. Ceiling tracks allow you to hang heavy, light-blocking curtains anywhere in a room—not just in front of a window. You can easily section off a home office, hide a studio bed, or create a temporary guest privacy zone.
Types of Ceiling Curtain Tracks
Not all tracks are created equal. Depending on your aesthetic preferences and the weight of your fabric, you will generally choose between three main types:
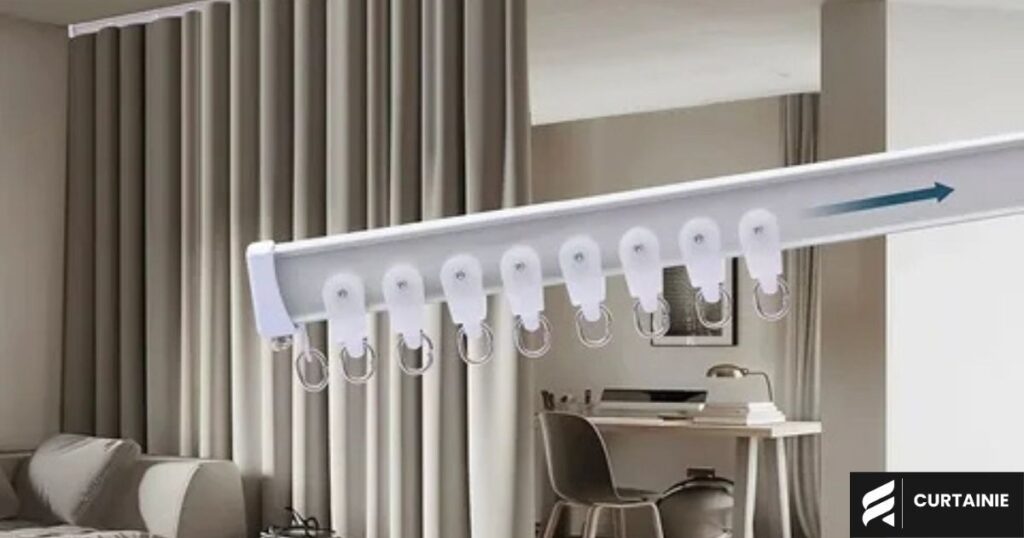
Flexible Curtain Tracks
Made from high-quality PVC or bendable aluminum, flexible tracks are engineered to curve around corners, bay windows, or unique architectural features without splicing. They are incredibly versatile and perfect for DIY projects involving curved spaces.
Rigid Aluminum Tracks
If you are hanging heavy, lined blackout curtains or floor-to-ceiling velvet drapes, rigid aluminum tracks are your best bet. They offer maximum durability, do not bend or sag under weight, and provide a ultra-smooth glide for your curtain carriers.
Recessed Curtain Tracks
For the ultimate luxury look, recessed tracks are built directly into a slot in the drywall ceiling during construction or a major remodel. When finished, the track is completely flush with the ceiling, making the curtains appear as if they are floating straight out of the roof.
What You Need Before Installation (Tool Checklist)
To ensure a smooth, professional-grade DIY installation, gather the following tools and materials before you begin:
- Ceiling curtain track kit (including track, rollers/carriers, end caps, and brackets)
- Measuring tape and pencil
- Stud finder
- Power drill and drill bits
- Drywall anchors (heavy-duty toggle bolts are highly recommended if not hitting a joist)
- Hacksaw (if you need to cut the track to a custom length)
- Laser level or chalk line (to ensure a perfectly straight line)
- Safety glasses
Step-by-Step Guide: How to Install a Curtain Track on the Ceiling
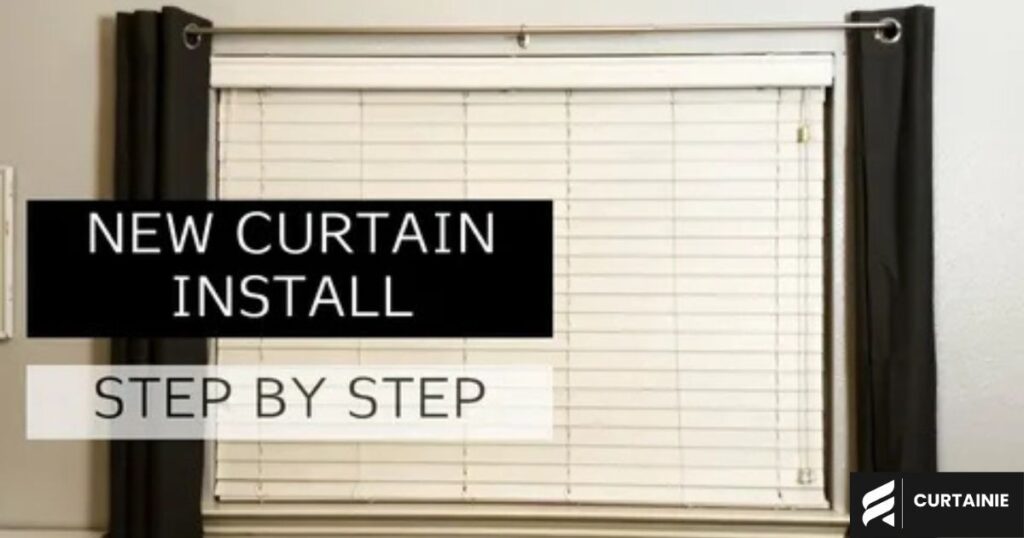
Installing a ceiling track is highly manageable for a DIY enthusiast. Follow these steps to ensure a secure, long-lasting setup.
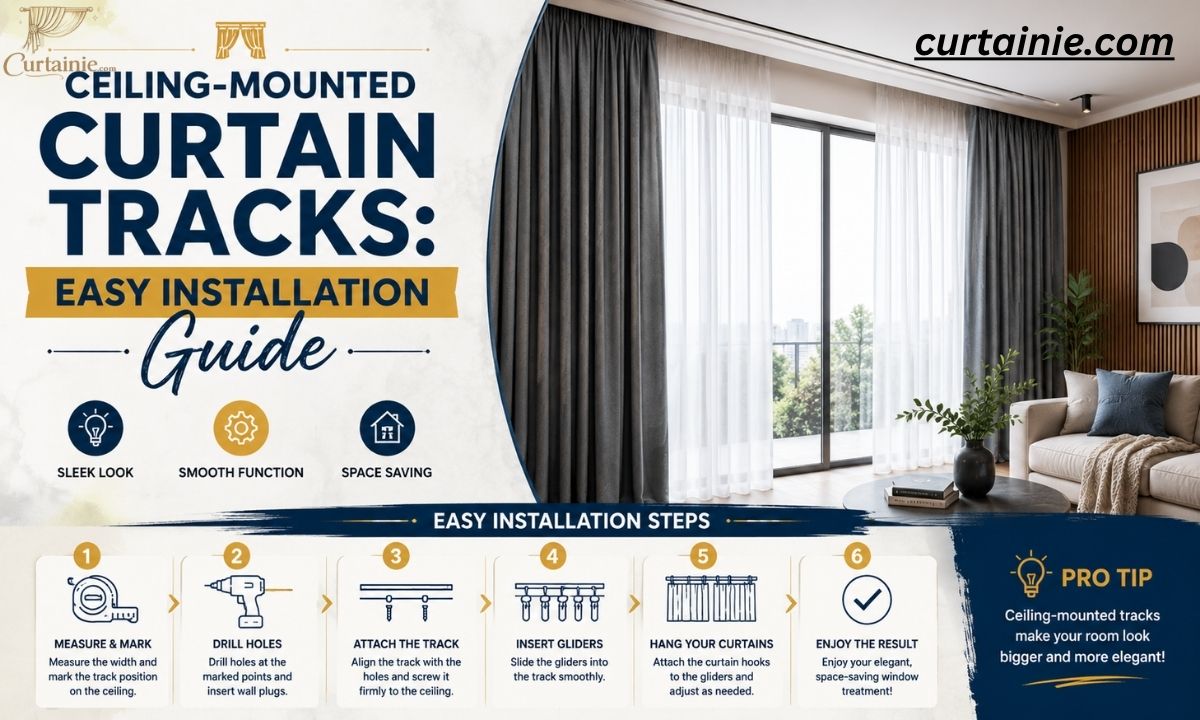
Step 1: Measure and Plan
Measure the exact length where you want the track to run. If you are mounting it over a window, it is best practice to extend the track 6 to 12 inches past the window frame on each side. This allows the curtains to be pulled completely away from the glass when open, letting in maximum natural light.
Pro Tip: Make sure to measure the distance out from the wall as well. Leave at least 2 to 3 inches of clearance between the track and the wall (or window handle/radiator) so the fabric can hang completely straight without rubbing or bunching up.
Step 2: Mark the Drilling Points
Hold your track up to the ceiling (a second pair of hands is very helpful here) or use a laser level to project a straight line. Use your pencil to mark exactly where the mounting screws or brackets will go.
Step 3: Find the Ceiling Joists
Use a stud finder along your marked line. If your track aligns with the wooden joists behind your drywall, you can screw the track brackets directly into the wood for maximum strength. If you are mounting into hollow drywall between joists, you must use heavy-duty drywall anchors or toggle bolts. This prevents the weight of the curtains from pulling the track right out of the ceiling over time.
Step 4: Cut and Assemble the Track
If your track is longer than your window measurement, use a fine-toothed hacksaw to trim it down to size. File away any rough edges so the rollers do not catch. Next, slide the gliders (the rolling wheels or clips) into the track channel. Once they are inside, secure the end caps on both sides so the rollers cannot slide out.
Step 5: Mount the Track to the Ceiling
Drill pilot holes into your marked spots. If using anchors, tap them gently into the drywall. Lift the track or mounting brackets to the ceiling and secure them firmly using your power drill and screws. Give the track a gentle tug to ensure it is completely stable.
Step 6: Hang and Style Your Drapes
With the track safely secured, attach your curtains to the gliders using curtain hooks or pins. Step back, adjust the folds so they drape evenly, and enjoy your newly transformed room!
[Ceiling Surface]
|| <– Heavy-duty Anchor or Screw into Joist
[Mounting Bracket / Track]
() <– Smooth Rolling Gliders
| <– Curtain Hook
[Curtain Fabric]
Essential Styling Tips for a Professional Finish
To make your ceiling track setup look like it was designed by an upscale interior decorator, keep these three golden rules in mind:
- Puddle or Kiss the Floor: Because the curtains start from the very top of the room, precise length is everything. Ensure your curtains either “kiss” the floor perfectly (hanging roughly 1/2 inch above the ground) or intentionally “puddle” (adding an extra 2 to 4 inches of fabric for a romantic, luxurious drape). High-water curtains that stop several inches above the floor will ruin the high-end look.
- Choose the Right Header: Ceiling tracks work best with specific curtain styles. Ripplefold curtains create perfectly uniform, S-shaped waves that look incredibly modern. Pinch pleat or Euro pleat curtains also pair wonderfully with tracks, offering a tailored, classic aesthetic. Avoid grommet or rod-pocket curtains, as they cannot be adapted to track gliders properly.
- Use Fabric Weight Strategy: For spaces where you want to maximize light but still retain privacy, pair a double-track system with lightweight, airy sheers on the back track and heavy, insulating drapes on the front track.
Read More ; can you put curtain track ceiling
Frequently Asked Questions (FAQs)
Q1: Can a ceiling curtain track hold heavy blackout curtains safely? Yes, as long as the track is screwed directly into ceiling joists or secured with heavy-duty toggle anchors.
Q2: What type of curtains work best with ceiling tracks? Ripplefold, pinch pleat, and tailored pleat curtains equipped with drapery hooks work best on tracks.
Q3: Can I install a ceiling curtain track if I am renting my apartment? Yes, but you will need to patch and paint the small screw holes in the ceiling before you move out.
Q4: How far from the wall should I mount a ceiling curtain track? You should leave a clearance of at least 2 to 3 inches from the wall or window frame to allow the fabric to move freely.
Q5: Can ceiling tracks be used to bend around curved bay windows? Yes, you can purchase flexible aluminum or PVC tracks specifically designed to bend smoothly around curves.
Conclusion
Can you put a curtain track on the ceiling? Not only can you, but doing so is one of the most effective ways to elevate your home’s interior design. By drawing the eye upward, maximizing natural light, and offering smooth, flawless functionality, ceiling tracks outperform traditional rods in almost every modern setting. With the right tools, proper anchors, and accurate measurements, you can easily pull off this stunning upgrade yourself, creating a beautifully polished, high-end look that stands the test of time.